

Contents
- How to Add DaVinci Resolve Transition Packs
- The Best DaVinci Resolve Transitions
- Frequently Asked Questions
- Final Thoughts
In the landscape of video editing, Blackmagic’s DaVinci Resolve is a renowned name. The advanced video editing application is popular for its stellar color collection capabilities and its top-tier editing tools. It offers an extensive range of features and functionalities that serve beginners and professionals alike. Like all other video editing tools, DaVinci Resolve also offers users the option to add complex as well as simple transitions to videos to make them more appealing.
Transitions aid in the creation of smooth shifts between different scenes, adding a sophisticated and professional touch to all videos. Whether you are editing a cinematic film, a vlog for YouTube, or even a corporate presentation, leveraging the correct transitions can be the difference makers.
In our comprehensive guide, we will highlight the steps novice or professional editors need to follow to add DaVinci Resolve transition packs, and cover 7 of the best DaVinci Resolve transitions that they can use to amplify the appeal of their creative projects. Moreover, we will also list some of the common queries users have regarding DaVinci Resolve’s transition packs. Without any further ado,
How to Add DaVinci Resolve Transition Packs
Adding the desired transition packs into DaVinci Resolve is a simple and straightforward process that can majorly contribute to your editing workflows. Here are the steps you can use to get the job done with ease:
Step 1: Download the desired transition pack after ensuring that it is compatible with your current version of Blackmagic’s potent editing tool.
Step 2: After the download is complete, unzip or unarchive the files to conveniently access the presets for transitions.
Step 3: Launch DaVinci Resolve and navigate to the project you wish to apply the transitions to.
Step 4: Import video files or the video transitions by navigating to Edit > Effects Library panel.
Step 5: Right-click on the folder for Resolve labeled “Transitions” and click on “Import”.
Step 6: Once the pop-up window is open , go to the file path or the root folder location where the transition pack was unzipped and choose the transitions that you wish to import.
Step 7: Drag & drop the newly imported transitions into your timeline. You can also modify these transitions by adjusting the duration time, in and out points, and other properties to get the feel you want.
The Best DaVinci Resolve Transitions
Here is a detailed look at some of the best, ,most seamless transitions DaVinci Resolve users can try out to make their creative project stand out from the rest of the competition:
- Glitch Transitions
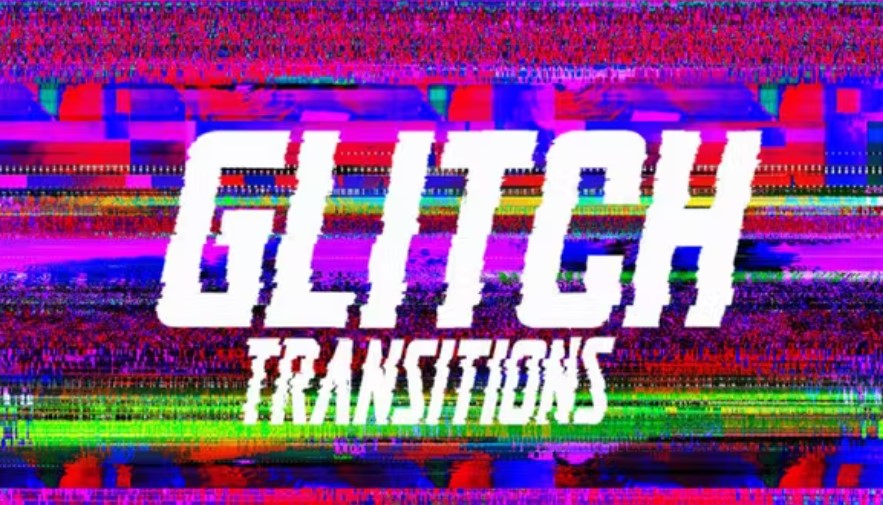
Glitch Transitions are very popular amongst the user base of DaVinci Resolve. It incorporates digital noise as well as distortion, thereby creating a futuristic, tech-savvy effect. This category of transitions is perfect for videos that aim to give out a high-energy feel or an edgy vibe. This form of drag-n-drop seamless transitions is heavily used in music videos, action sequences with an adrenaline rush, and any other form of content that can benefit from a futuristic and modern aesthetic.
- Essential Fade Transitions
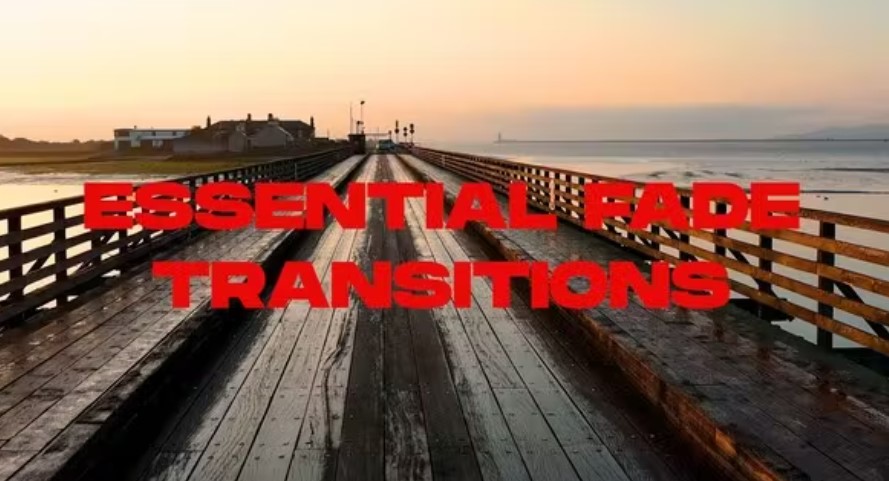
This set of DaVinci Resolve transitions, as the name suggests, allows users to implement the classic and timeless fade transition to their creative project. This bundle of top-notch fade transitions is perfect for implementing subtle animations between clips. In this high-quality transition pack, there are 25 distinctive styles of transitions each of which works exceptionally well with both photos and videos.
- Smart Transitions
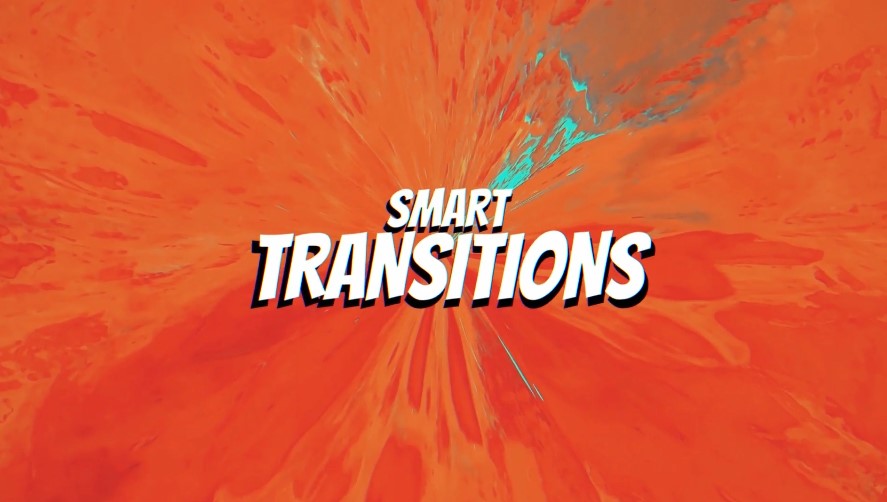
The Smart Transitions pack features a variety of simple yet impressive animations that users can implement in videos to amplify their visual appeal. With over 100 different types of transitions in its arsenal, this pack of standard transitions is perfect for both novice as well as experienced professional video editors who wish to access unique types of animations in a single place.
- Split Transitions
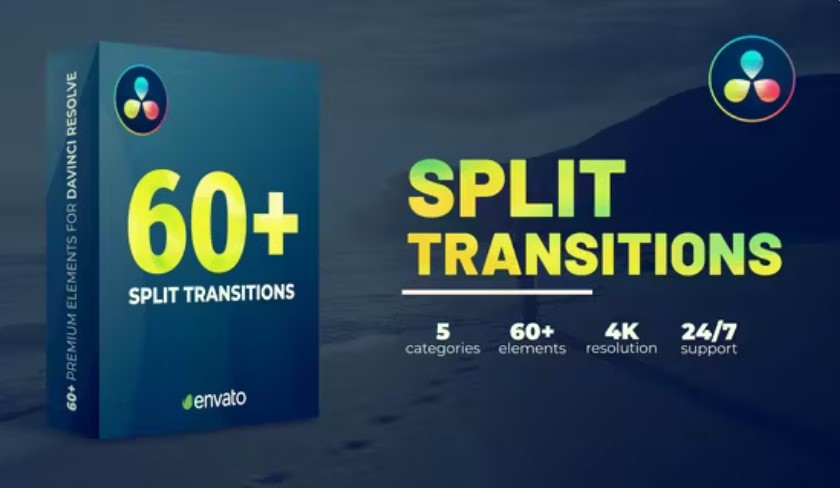
The Split Transition is one of the most popular transition effects in the world of video editing. It can be applied in multiple ways for revealing the next or previous slide. Split transitions are deemed smooth transitions which are used in almost all types of creative projects, including professional presentations, videos and films, etc.
- Brush Transitions
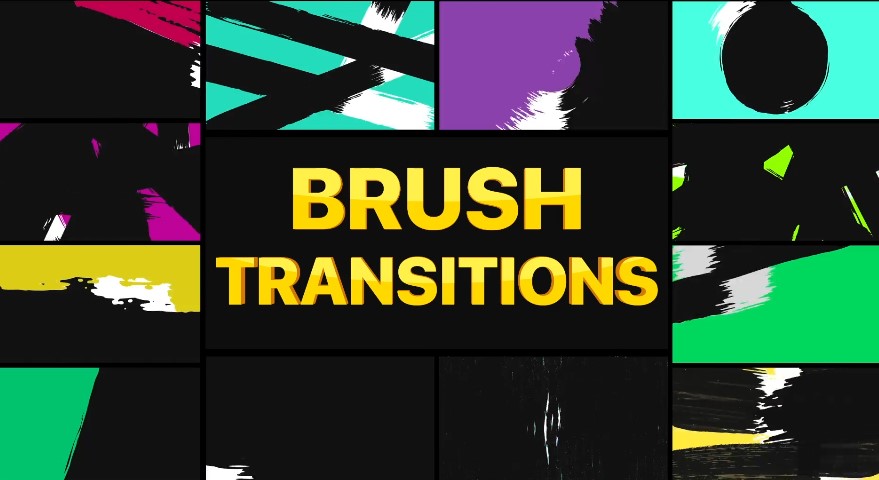
The Brush Transitions set features a variety of vivid and color-filled brush-style transitions featuring unique animations. If you are a creative individual who aims to make your project appear visually striking, using this stylish transition from this particular DaVinci Resolve transition pack will get the job done for you with ease. The effects featured in this pack are perfect for creative, educational, as well as entertainment-related video projects. What further adds to the appeal of this transition pack is that it is compatible with the all versions and variants of DaVinci Resolve, including DaVinci Resolve 18, DaVinci Resolve Studio to name a few.
- Block Transitions

The Block Transition package for DaVinci Resolve packs in a unique variety of cube-style animations, each of which holds the potential to take your creative project’s appeal to the next level. What makes this DaVinci Resolve transition pack even more impressive is the fact that each of the animations featured in it provides an impressive 3D appearance to videos. Besides this, this pack of fan favorite transition also offers users the option to specifically customize every transition or add custom transitions as per their project’s requirements.
- Cine Snip Transitions
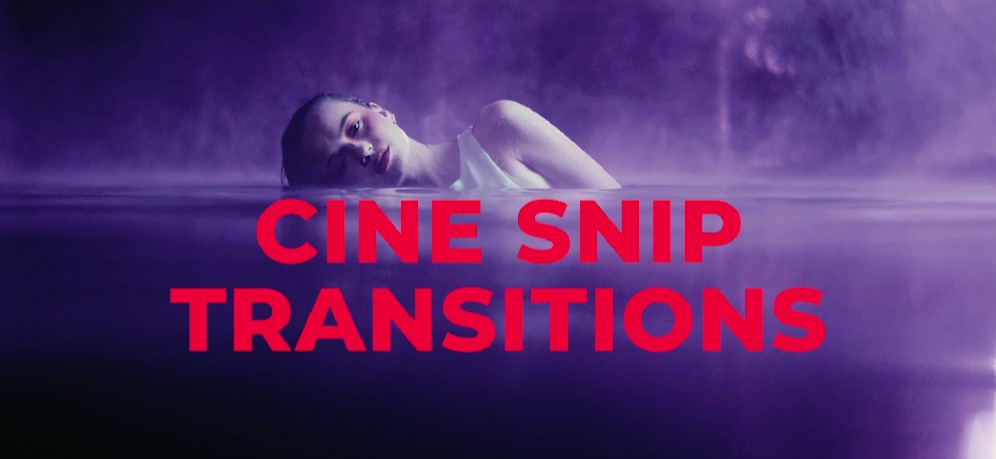
The Cine Snap pack of transitions packs in a total of 15 unique film-like transition animations, each of which feature cinema snip fixtures. Besides being one of the coolest transition types, this type of transition is perfect for projects requiring a cinematic feel, this pack of cool transitions has what it takes to amplify the appeal of creative projects, especially cinematic ones.
Frequently Asked Questions
Q1. How should I install the desired transition pack in DaVinci Resolve?
A: Download and unzip or unarchive the desired seamless transitions for DaVinci Resolve, open the editing software, and use the Effects Library panel present on the Edit page to import the transitions. To apply the desired transition, simply drag and drop it onto the timeline.
Q2. Why are the transitions that I imported are not being shown in DaVinci Resolve?
A: When a transition pack does not show up in DaVinci Resolve, chances are that it is not compatible with the software’s current version. In some cases, transition packs are not properly imported using Effects Library, which is another reason why users are unable to see them within the application.
Q3. Do I have the option to customize the duration of transitions?
A: Yes, you can make adjustments to the transition duration. To set the time limit, all you need to do is to drag the transition’s edge in the timeline. Moreover, you can also alter other properties which are available in the Inspector Panel.
Q4. Are DaVinci Resolve transition packs free to use?
A: Numerous transitions are free to use, whereas others need to be purchased or subscribed to. Hence, users are advised to inspect the licensing terms before downloading any transition pack and moving to the purchase window.
Q5. How can I smoothen my transitions?
A: An effective way to make transitions smoother is to ensure that all individual or single clips are properly cut and aligned. Moreover, users are advised to fine-tune the desired effects by utilizing the transition settings.
Final Thoughts
By incorporating the aforementioned DaVinci Resolve transition pack’s animations into your projects, you can significantly enhance the quality as well as the engagement of your videos. Whether you are working with a cinematic masterpiece, a vlog, or a TikTok/reel, using the correct transitions can make a massive difference.
Moreover, with the help of Postudio, you can easily work with different categories of transitions in DaVinci Resolve with ease and work in real time on any creative project without worrying about the hassle of meeting system requirements, facing performance issues, and spending a profuse amount of money on purchasing/upgrading hardware, software or plugins. With its wide range of powerful tools including the likes of Adobe Premiere Pro, After Effects, and numerous similar video editing software amongst other tools, the platform is perfect for both novice as well as advanced users who wish to simplify their editing process. To get started, register now!


